

The right monitor accessories can transform a frustrating workstation into one that actually works for you. Whether you’re building a dual-screen productivity rig or just trying to stop craning your neck at a screen that’s too low, the options below cover every major category: mounts, stands, cables, adapters, and ergonomic add-ons. I’ve put together a direct comparison of four standout products, followed by practical guidance on what to look for before you buy.
| Product | Type | Compatibility | Adjustability | Best For |
|---|---|---|---|---|
| HUANUO FlowLift™ Dual Monitor Stand | Dual monitor arm | Wide VESA support, dual screens | Full articulation, gas-spring height/tilt/swivel | Dual-monitor professionals needing flexible positioning |
| ErGear Single Monitor Arm | Single monitor arm | VESA 75×75, 100×100 | Height, tilt, swivel, rotation | Budget-conscious users wanting full adjustability |
| WALI Computer Monitor Stand | Monitor riser/stand | Most monitors | Fixed height elevation | Simple height fix with under-stand storage |
| Ergomart VESA Plates and Mount Adapters | VESA adapter/plate | Custom patterns, various sizes | Enables mounting where none exists | Monitors lacking standard VESA holes |
The HUANUO FlowLift™ Dual Monitor Stand is the pick for anyone running two screens. Dual monitor arms consolidate two separate mount points into one, reclaiming the desk footprint that two individual stands would otherwise consume. The gas-spring mechanism keeps adjustment smooth and consistent over time, unlike tension-spring designs that stiffen with use. For a full breakdown, Techreviewnerds has a dedicated review worth reading.
The ErGear Single Monitor Arm sits in the sweet spot for single-screen users who want real adjustability without spending $150+. It covers the standard VESA patterns (75×75 and 100×100 mm) and handles the weight range most 24–27-inch monitors fall into. The WALI Computer Monitor Stand takes a different approach entirely: no VESA required, no clamps, no tools. You place it on the desk, set your monitor on top, and you’re done. It also gives you usable storage space underneath, which is genuinely handy on a cluttered desk.
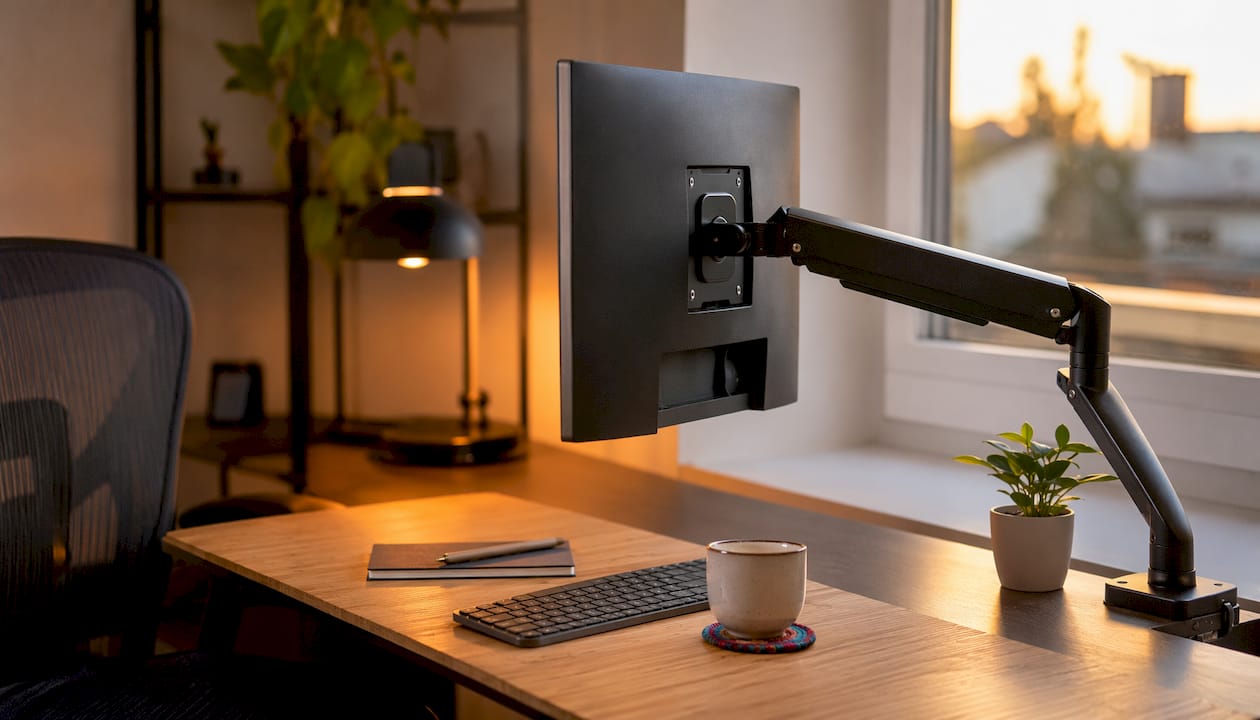
Ergomart VESA Plates and Mount Adapters solve a specific but common problem. Some monitors, particularly budget panels and certain ultrawides, ship without standard VESA holes. Before you verify VESA compatibility on any arm purchase, check the back of your monitor. If the holes aren’t there, an adapter plate is often the only path to a mounted setup short of replacing the screen.
What types of monitor accessories should you know about?
Monitor accessories fall into a few clear categories, and knowing which one solves your actual problem saves you from buying the wrong thing.
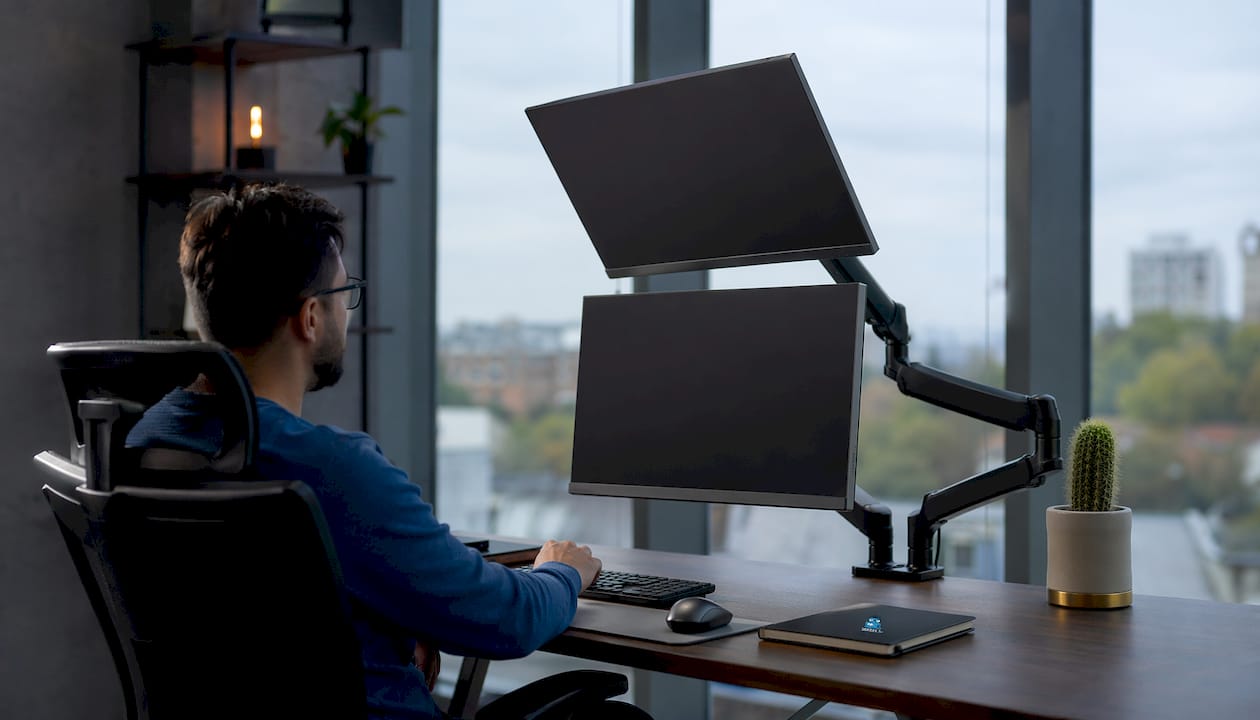
Monitor arms and mounts are the most impactful category for ergonomics. A quality arm lets you adjust height, tilt, swivel, and rotation independently, so the screen adapts to your posture rather than the other way around. OSHA guidelines place the ideal monitor top edge at or slightly below eye level, at 20–26 inches distance, tilted back 10–20 degrees. A fixed stand makes hitting all three of those targets simultaneously difficult. An arm makes it straightforward.
Monitor stands and risers like the WALI are the no-fuss alternative. They work best when your monitor just needs to come up a few inches and you never plan to reposition it. Metal and solid wood risers outlast particle board versions by years. Anything under 3 inches of lift is marginal; look for at least 4–5 inches to make a real difference.
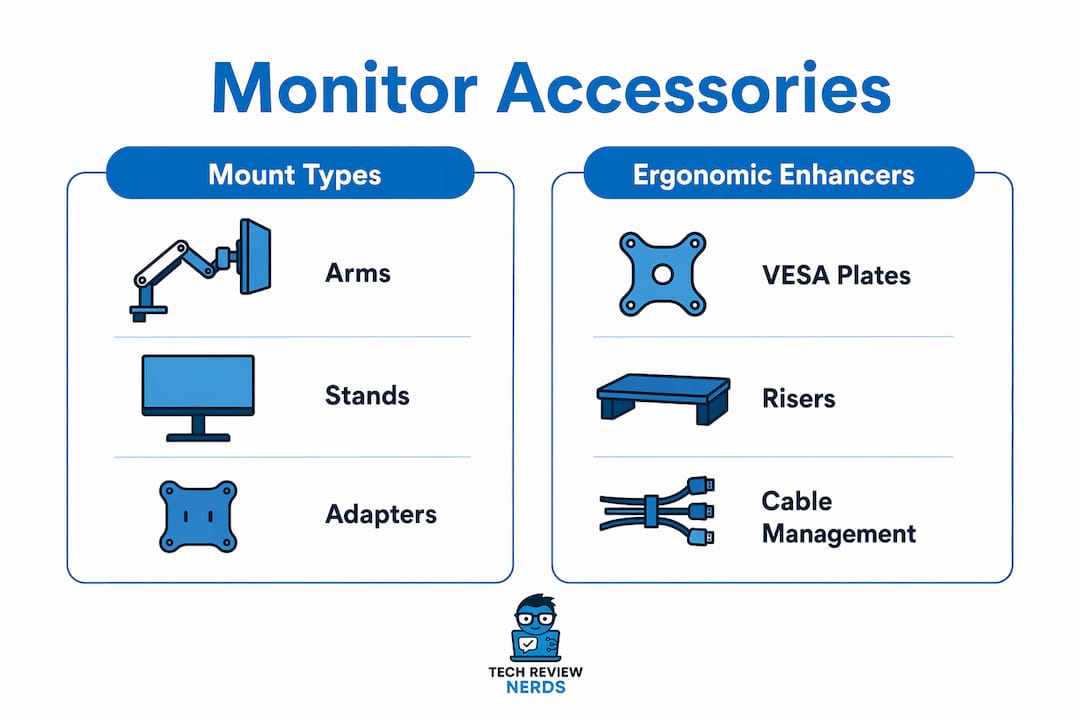
Cables and adapters are easy to overlook until they become the bottleneck. DisplayPort delivers higher bandwidth than HDMI at equivalent versions, which matters for high-refresh-rate or high-resolution displays. USB-C cables that carry video, data, and power on a single cable are increasingly common and worth prioritizing for cleaner setups. Cable length matters too: a cable that’s too short forces your monitor into an awkward position.
Ergonomic add-ons round out the picture. Document holders, footrests, monitor light bars, and wrist rests each address a specific strain point. These aren’t luxuries for most people working 6–8 hours at a desk.
- Document holders: Reduce neck rotation between screen and reference materials. Typically priced at $20–$40.
- Footrests: Prevent leg compression when your chair or desk height isn’t quite right. Budget $30–$50 for a decent adjustable model.
- Monitor light bars: Light your desk surface without creating screen glare. Aim for 300–500 lux at desk level.
- Cable management trays and clips: Keep wiring off the desk surface and reduce cable stress at connection points.
- Wrist rests: Support a neutral wrist position during keyboard and mouse use, complementing whatever monitor height you’ve set.
Material quality affects how long any of these hold up. Gas-spring arms stay smooth for years; tension-spring arms wear out and feel stiff within months. For stands, metal and solid wood are the materials worth paying for.
How to choose the right monitor mount or stand
Start with your desk, not the product listing. Glass desks and lightweight structures can’t safely support heavy-duty clamp mounts. Most clamp arms work with desk edges 1–10 cm thick, so measure before you order. If your desk is glass, a riser like the WALI is the safer call.
Next, check your monitor’s VESA pattern. The two common patterns are 75×75 mm and 100×100 mm. Most monitors have one of these; some larger or budget panels don’t. If yours doesn’t, Ergomart’s adapter plates are the practical fix. Confirm the arm’s weight rating exceeds your monitor’s actual weight by a safe margin. Standard desk arms and heavy-duty models vary in capacity depending on design.
Adjustability matters most if you switch between sitting and standing. Adjustable arms let you reposition height and tilt as your posture changes throughout the day, which fixed stands simply can’t do. For a dual-monitor setup, an arm like the HUANUO FlowLift™ is almost always the right call over two separate stands, because it reclaims the desk space two bases would eat.
For single-monitor users who rarely move their screen, the WALI stand is a legitimate option. It’s stable, easy to set up, and the storage underneath is a practical bonus. The ErGear arm is the step-up when you want real positioning control without a premium price tag.
Pro Tip: Don’t set your monitor once and forget it. Posture shifts throughout the day, and repositioning your screen to match your current sitting or standing position is one of the easiest ways to prevent neck strain from building up.
A common mistake: mounting an arm too far back on the desk. This forces you to lean forward to read the screen, which defeats the ergonomic purpose entirely. Pull the monitor to 20–26 inches from your face and adjust from there.
Ergonomic accessories that complete your monitor setup
Getting the monitor at the right height is step one. The rest of your setup needs to follow.
- Input device alignment: Raising your monitor without adjusting your keyboard and mouse creates new strain. Input devices should allow a neutral wrist position and a 90-degree elbow angle. Check out Techreviewnerds’ keyboard ergonomics review for practical pairing advice.
- Bias lighting: A USB-powered LED strip behind your monitor, set to around 6500K, reduces the contrast between your bright screen and the dark wall behind it. That contrast is a primary driver of eye strain during long sessions.
- Cable management: Integrated cable channels on monitor arms extend cable lifespan by preventing tangles and stress at connectors. A cable tray under the desk handles the rest.
- Monitor screen protectors: Anti-glare filters cut reflections in bright rooms and can reduce eye fatigue, though they slightly soften image sharpness.
- Webcam mounts: Clip-on or arm-mounted webcam holders keep your camera at eye level for video calls, which also means you’re not staring down at a laptop camera all day.
For a broader look at how these pieces fit together, Techreviewnerds’ computer accessories guide covers the full ecosystem.
Techreviewnerds covers the gear that pairs with your monitor

Techreviewnerds publishes independent, hands-on reviews of laptops and everyday tech without paid placements shaping the recommendations. If you’re building out a full workstation, the monitor accessories are only part of the picture. The laptop or desktop driving those screens matters just as much. Techreviewnerds’ laptop buying guide cuts through the noise with real-use testing, so you’re not matching a great monitor arm to a machine that can’t keep up. The same practical, unbiased approach that shaped this accessory comparison runs through every review on the site.
FAQ
What are monitor accessories?
Monitor accessories are add-ons that improve how your screen is positioned, connected, or used. They include mounts, arms, stands, cables, adapters, and ergonomic tools like document holders (typically priced at $20–$40), footrests ($30–$50), and light bars.
What do you need for a basic monitor setup?
At minimum, you need a way to get the screen to eye level (a stand or arm), the right cable for your connection type (HDMI, DisplayPort, or USB-C), and ideally some form of cable management to keep the desk clear.
What is the thing that connects to a monitor called?
The cable connecting your computer to a monitor is called a video cable. Common types are HDMI, DisplayPort, and USB-C. The port on the monitor itself is called a video input.
Does my monitor need VESA holes for a monitor arm?
Yes. Most arms require a standard VESA pattern (75×75 or 100×100 mm) on the back of the monitor. If your monitor lacks these holes, a VESA adapter plate like those from Ergomart can bridge the gap.
How far should my monitor be from my eyes?
OSHA recommends a monitor distance of 20–26 inches; a simple check is to extend your arm fully and note where your fingertips touch the screen.
Key Takeaways
The most effective monitor setup pairs a properly positioned arm or stand with ergonomic accessories that align your entire workstation, not just the screen.
| Point | Details |
|---|---|
| VESA compatibility first | Check your monitor’s VESA pattern (75×75 or 100×100 mm) before buying any arm or mount. |
| Arm vs. stand decision | Choose an arm for dual monitors, standing desks, or frequent repositioning; choose a stand for simple, static single-screen setups. |
| Ergonomic positioning | OSHA places the ideal monitor top at or slightly below eye level, at 20–26 inches distance, tilted back 10–20 degrees. |
| Complete the ecosystem | Raising the monitor without adjusting input devices creates new strain; keyboard and mouse alignment must follow the screen height. |
| Techreviewnerds | Covers independent, hands-on reviews of laptops and tech that pair with your monitor accessories, with no paid placement bias. |